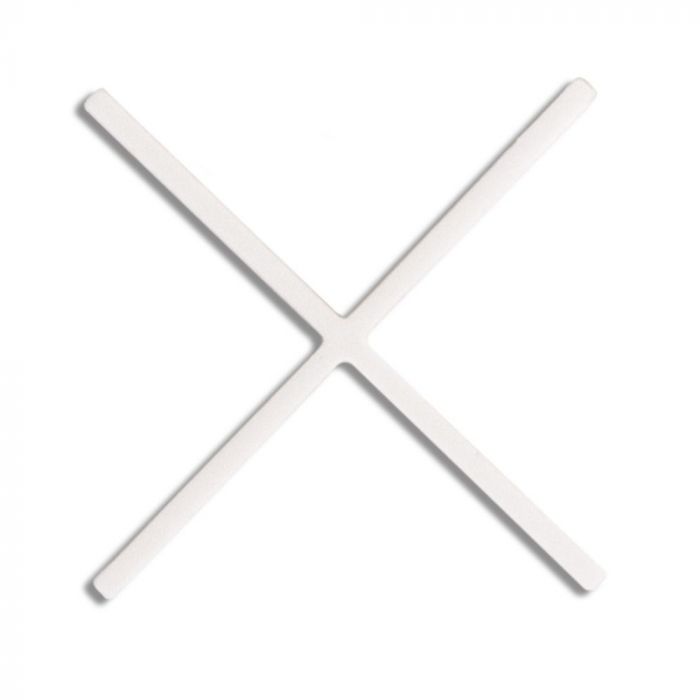
Genesis Cross Tile Spacers

Our tile spacer range has a varied format to suit most needs. From the small bag through to the large, extremely popular, bucket container. All of the Genesis spacers are injection moulded for precision and the individual spacer is separated after the moulding process to allow faster use when tiling.
- All spacers are injection moulded for precision
- Manufactured from high grade polypropylene
- Can be used in conjunction with levelling systems
| Spacer sizes | 1mm, 2mm, 3mm, 4mm, 5mms |
How do I use tile spacers?
Once you’ve applied your adhesive and placed the tiles on top of it, simply place spacers at each corner of your tiles and then push the tiles together until the spacer is fully butted up against each corner of each tile. This will ensure an equal gap wherever the tiles meet.Â
Â
How long should I leave spacers in?
20-30 minutes. The spacers need to be in place until the tile adhesive sets, which usually takes from 20 to 30 minutes. Don't leave them much longer than that, or they may get bonded to the adhesive.
Â
How many tile spacers do I need?
 Estimating the quantity of tile spacers for you project is easy – just take the number of tiles you’re using and multiply it by four! It’s always worth getting a little bit extra though to account for breakages and losing them amongst your tiling tools and materials.
Â
What size should I choose?
Taking British Standards into consideration (as well as common practice) it is recommended that wall spacers are 2-3mm (with 2mm covering the majority of requirements) and floor spacers 3-5mm.

